

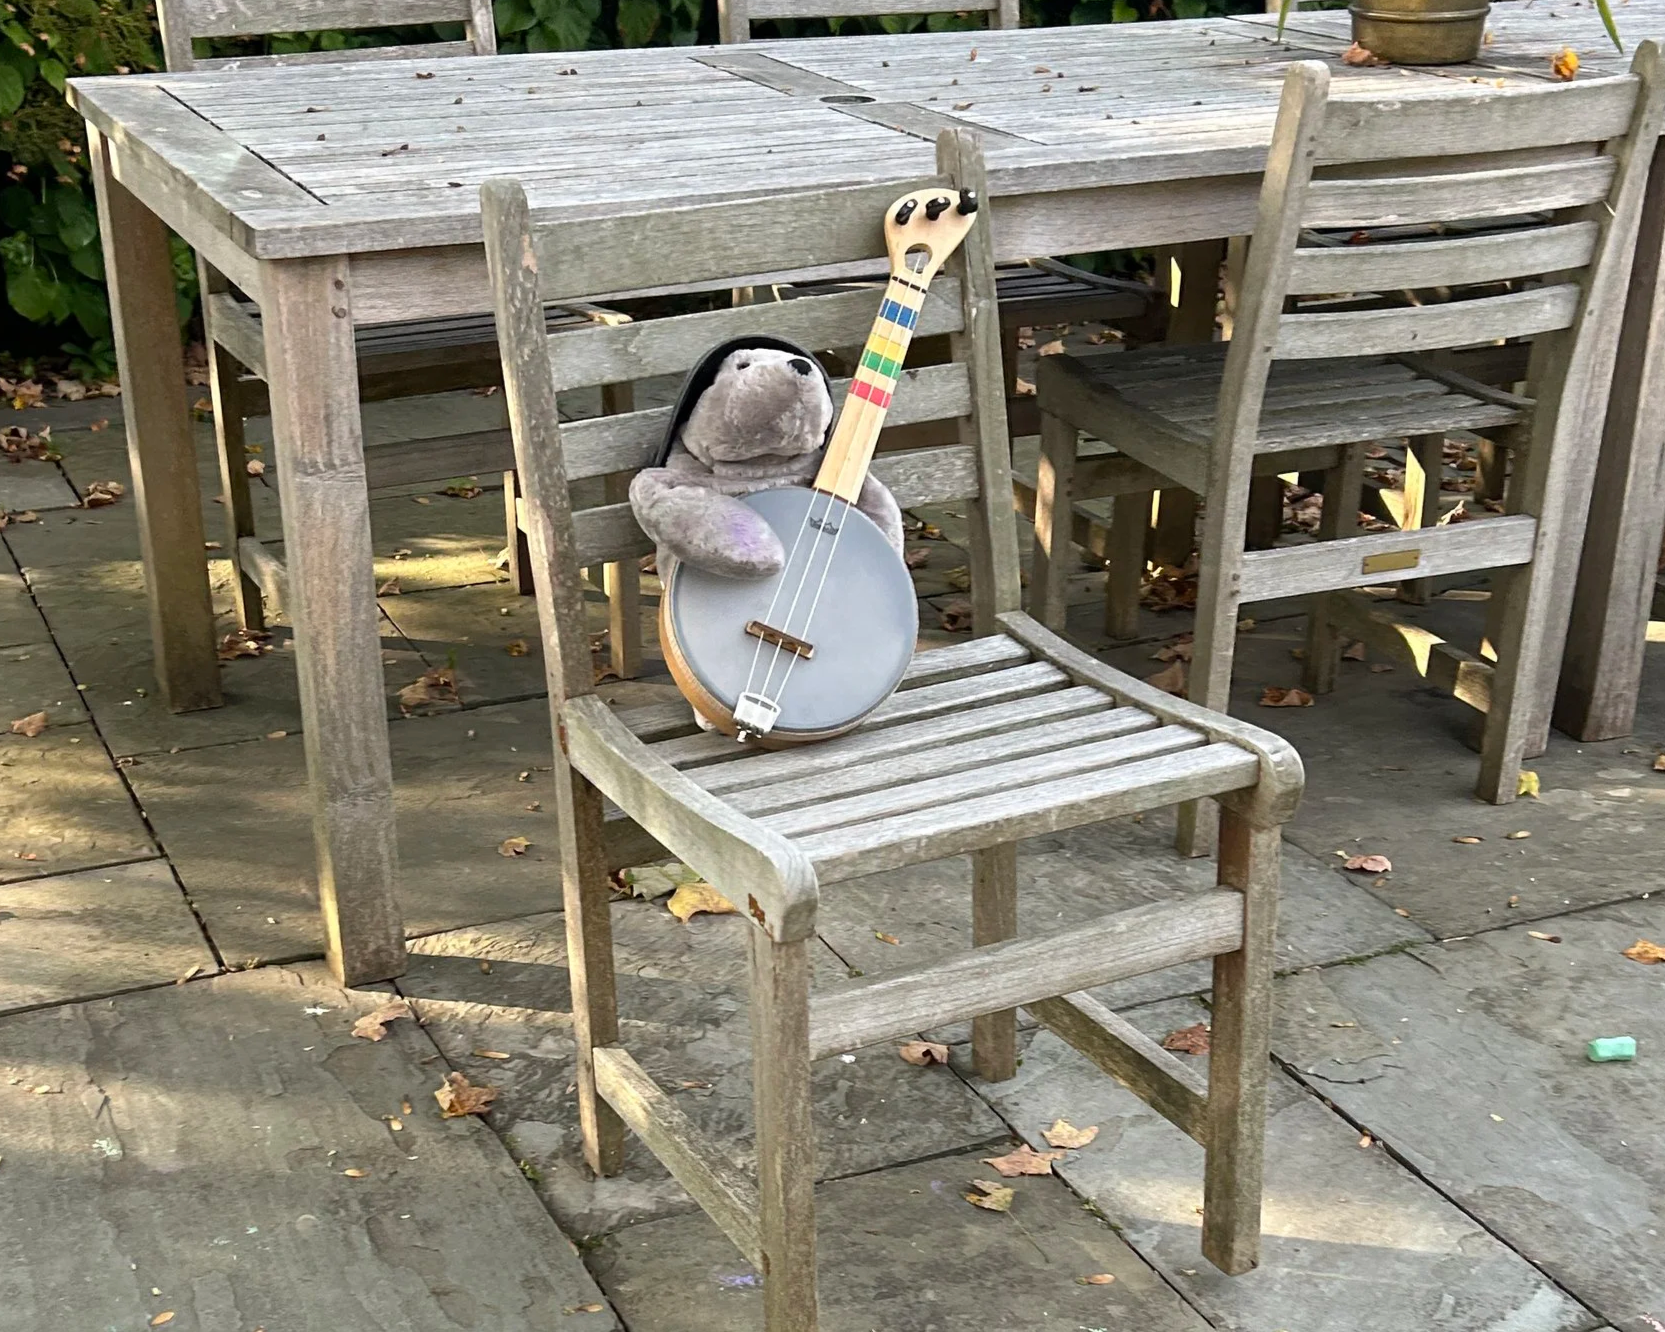
Tips For Teaching Kids to Play The Friendly Banjo
Over the last summer, I started teaching a lot young students how to play their Friendly Banjos in group lessons at parks, libraries, summer camps, and a handful of small music festivals. After working with dozens of kids between the ages of four and nine, I’ve learned a lot about what helps children succeed when they’re first learning to play.
The Friendly Banjo was created to make learning music approachable, unintimidating, and, well, friendly. Below are some of my favorite teaching tips I’ve picked up — perfect for parents and teachers who want to help their young learner start strumming with confidence.

Zack (Founder of Friendly Banjos) with one of his young students.
Tip 1: The “Belly Button Method”
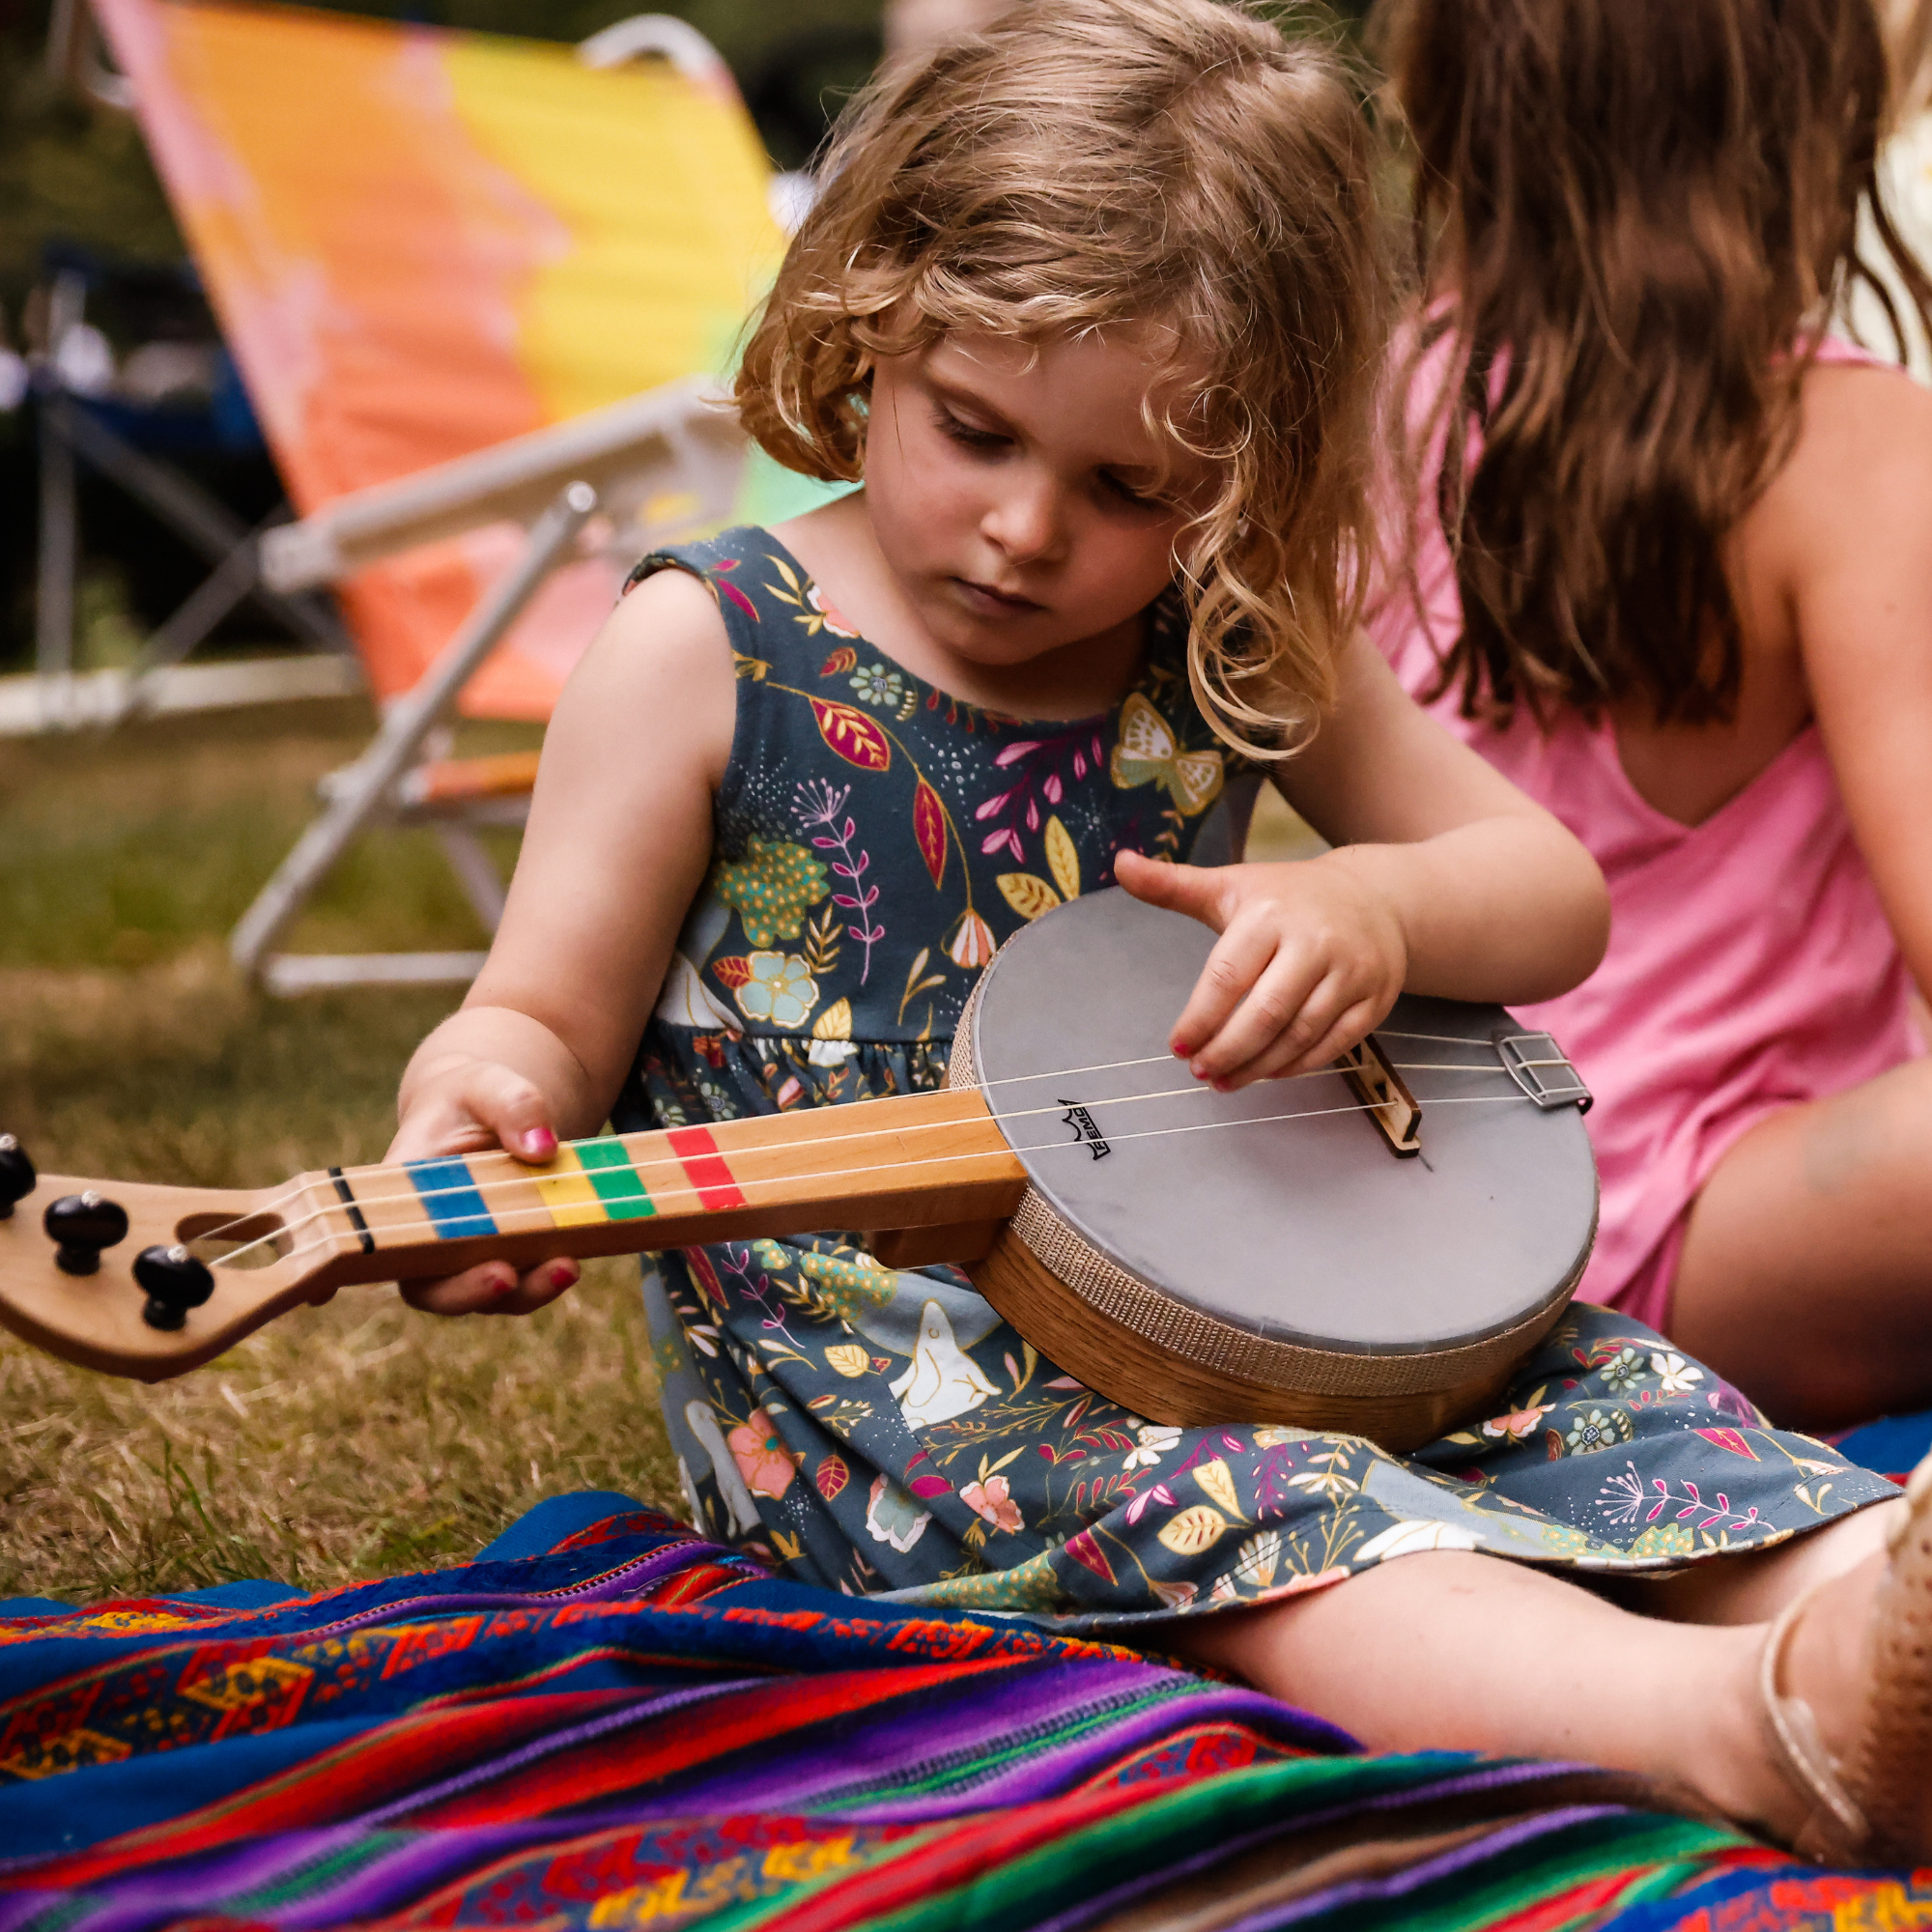
Before we play a note, I always start with how to hold the banjo. The drum — that big round part — should rest right over their belly button. I show kids how, unlike guitars or ukuleles that have sound holes in the front, a banjo’s sound actually comes from the back of the drum.
Then I tell them their belly buttons are banjo music receivers — that’s why we have belly buttons! The music goes from their banjo straight into their belly button. It’s silly, but it works. Kids love it, and it helps them remember to keep their banjos right in their laps with the drum over their belly button — exactly where it should be.
If a student ever starts holding their banjo “the wrong way,” with the drum facing up, I’ll just say, “Hey! Your belly button can’t hear the music anymore!” or “The music is escaping from your belly button!” and they immediately fix it.

Two of these three girls are using the belly button method — can you spot which ones?
Tip 2: The “Shoo Motion”
Once the banjo’s in position, we start strumming. I tell kids to make a soft claw shape with their hand — like they’re about to grab a cookie but decided not to — and then do a “shoo motion”, like they’re flicking their fingers to shoo away a fly. That’s their strum!
We use the fingernails to brush the strings, but if their nails are too short, they can:
Strum up with their fingerprints, or
Strum down with their thumb
Felt picks are another great option. They’re soft, easy to hold, and make a warm, pleasant sound.
Keep an eye on Inga’s right hand in the following video to see the “Shoo Method” in action (second clip). It’s a great trick for helping kids play full-sounding chords right away without having to focus too much on rhythmic strumming.
Tip 3: Counting, Strumming, and Feeling Rhythm
Once your child can strum, it’s time to start adding rhythm. Have them count out loud — “1, 2, 3, 4” — while strumming to build timing, coordination, and a steady sense of beat.
Once that feels natural, smoothly transition into playing simple songs they already know using just the open chord (no fingers pressing strings). Try familiar tunes like You Are My Sunshine, The Wheels on the Bus, or Twinkle Twinkle Little Star.
Keeping it simple helps them focus on feeling the rhythm and making real music — not just practicing exercises. It’s about building confidence, so make sure to give them praise along the way. They are doing something brandd new, and boy are they doing a great job!
Tip 4: Finger tip not finger print (Pressing Strings)
When your young player is ready to start making new sounds, it’s time to learn how to press the strings to form notes. This is where proper hand position really helps! Their fingers should come from underneath the neck, not over the top, and the thumb should rest behind or gently on top of the neck for balance — it never presses a string.
When placing a finger on a string, encourage them to use the fingertip, not the fingerprint. You can demonstrate this by holding up your own finger and showing the difference — the very tip is smaller and firmer, which helps press the string down cleanly without touching nearby strings. Have them bend their pointer finger into a gentle “C” shape and press the string down firmly until it stops naturally against the fingerboard. Then, have them strum to hear the note ring clearly.

Notice how the thumb is on the back of the neck, peeking slightly over, providing leverage for the other finger to press down on the string.
Tip 5: Put The Banjo Down (and Play Together!)
Is your young student getting restless halfway through the lesson? That’s okay! Just step away from the banjo and do something active together for 10–15 minutes. I like to play basketball or four square with my students — it keeps them moving, using their motor skills, and laughing while we reset from all that musical focus.
After the break, come back to the Friendly Banjo for a short wrap-up session to show them all the progress they’ve made, and share lots of positive reinforcement along the way. A shared break like this keeps lessons light, engaging, and full of momentum — just the way music learning should be.
Tip 6: Ignore All of the Above (If You Need To)
Some kids learn best by listening and following directions — others learn by exploring. And for the ones who are eager to try things their own way (and maybe not so eager to take advice), that’s perfectly okay.
Younger learners, especially 3- and young 4-year-olds, may not follow every bit of guidance you give — and that’s normal. They’re often more visual than physical when it comes to instruments, which might mean their banjos end up on their laps instead of in playing position. That’s part of how they take in the experience and make sense of what they see.
Let them play the banjo the way they want to. Encourage their curiosity, even if it means they’re holding it upside down or strumming every which way. You can always step in to help later — but do it when it feels collaborative, not corrective.
Music is about discovery. The Friendly Banjo is about play. It was designed to make learning to make music easy, inviting, and fun — no matter which direction your young learner takes.
Ready to start strumming? Get your Friendly Banjo today here.